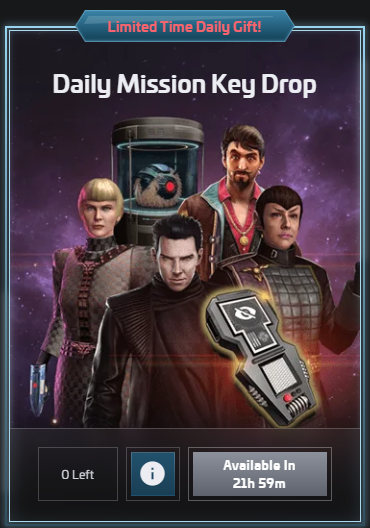
- Daily Mission Keys using Postman (free)
- Automated STFC Mission Keys collection using FastTrek (requires a FastTrek subscription)
How to set up free automated Mission Key collection with Postman
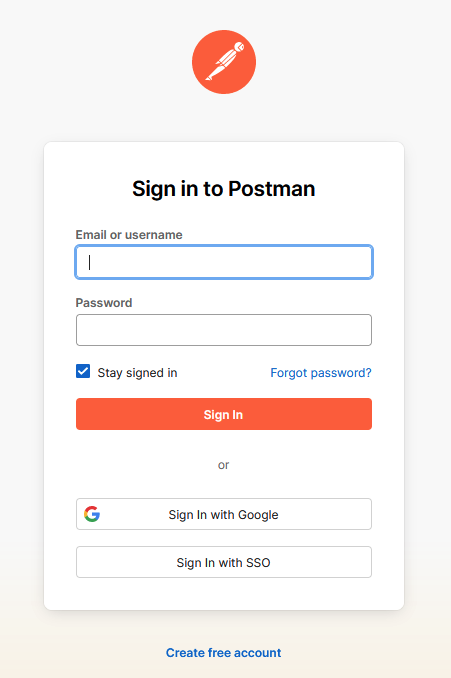
To summarise briefly, you will sign up for a free Postman account, import a template collection, then configure it with your Scopely ID login, and finally set it to run on a schedule.

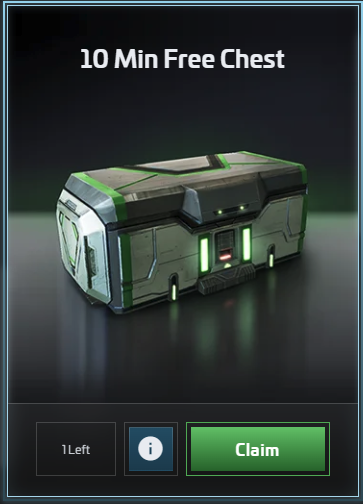
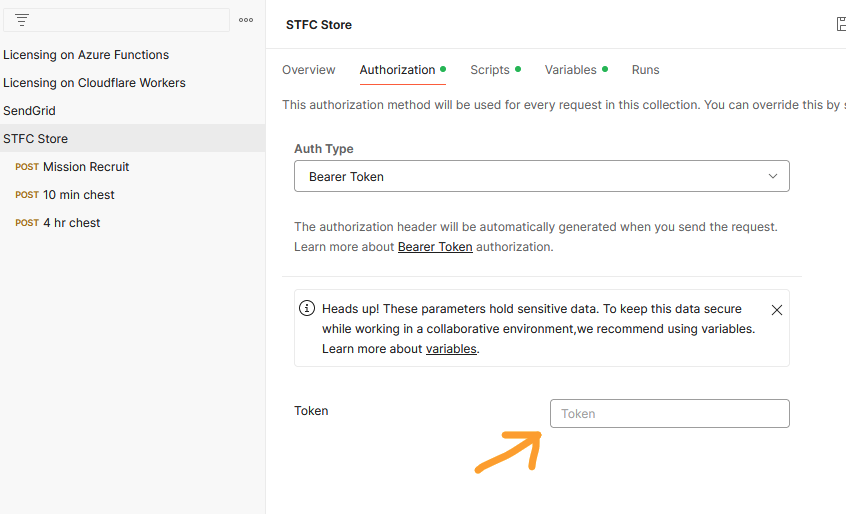
https://download.fasttrek.space/STFC-Store.postman_collection.jsonYou should now see the “STFC Store” Collection, including Mission Recruit, 10 min chest and 4 hr chest (which can also be automated).
- Click “Run” (the one with the YouTube-like icon)
- Select only the Mission Keys request
- Select “Schedule Runs”
- Enter any name
- Pick a suitable time (i.e. when bundle will be next available)
- Be sure to enter something into Email Notifications (not shown in the video). This will notify you when collection fails.
- Click Schedule Run right at the bottom (not shown in the video) and celebrate your achievement with a beer (shown below).

How to set up free automated Mission Key collection with FastTrek
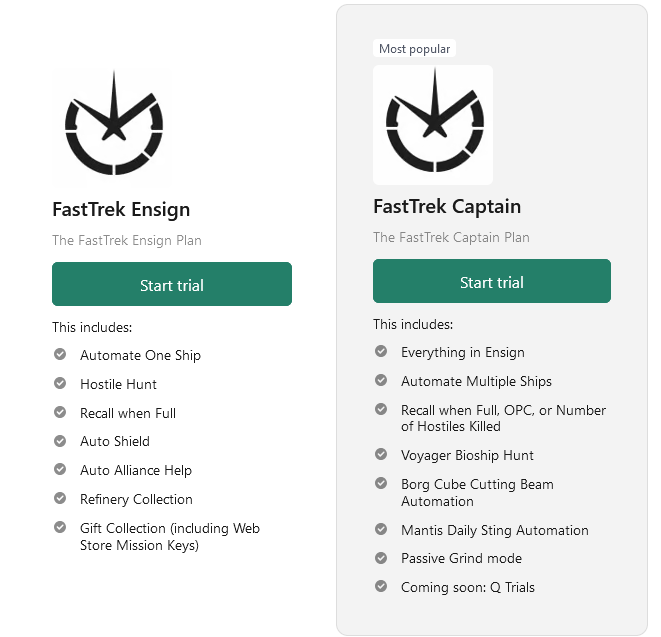
FastTrek can also fully automate the daily mission key collection. FastTrek is a bot for Star Trek Fleet Command, which offers a host of ship, refinery, and station automation options. One of these is the ability to collect gifts, including Mission Keys.
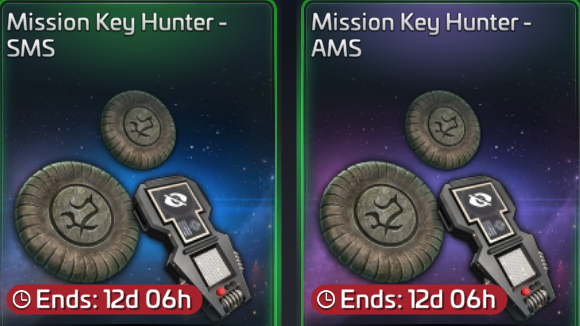
In contrast to Postman as configured above, FastTrek collects all gifts whenever they are available. It even makes use of the 22 hour cooldown, so you get 13 collections in 12 days. As long as you keep it running of course, but most users do.
So here are the steps with FastTrek. Skip to Step 3 if you already have FastTrek up and running.
Run the game and ship detection as necessary.
Step 3
Install Chromium
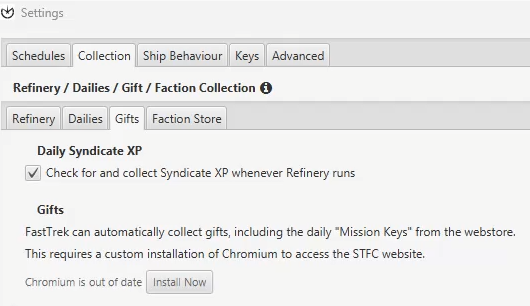
In FastTrek, open Settings > Collection > Gifts
Click ‘Install Now‘ and FastTrek will install its own copy of Chromium.

Step 5
Enable gift collection
Checking the box means that FastTrek will now check for new gifts every 10 minutes.
It’s your choice whether you want the 10min chest or not.
Keep FastTrek running and it will continue doing this forever.
And that’s all there is to it!
Congratulations, you have just automated mission key collection in STFC 🙂
Leave a Reply